Part 2 of 3 – Snap with the keyboard
In Part 1, I showed you how to use the Windows snap feature in Windows 10 using the mouse. In part 2, I’ll show you how to use the same snapping feature using the keyboard instead.
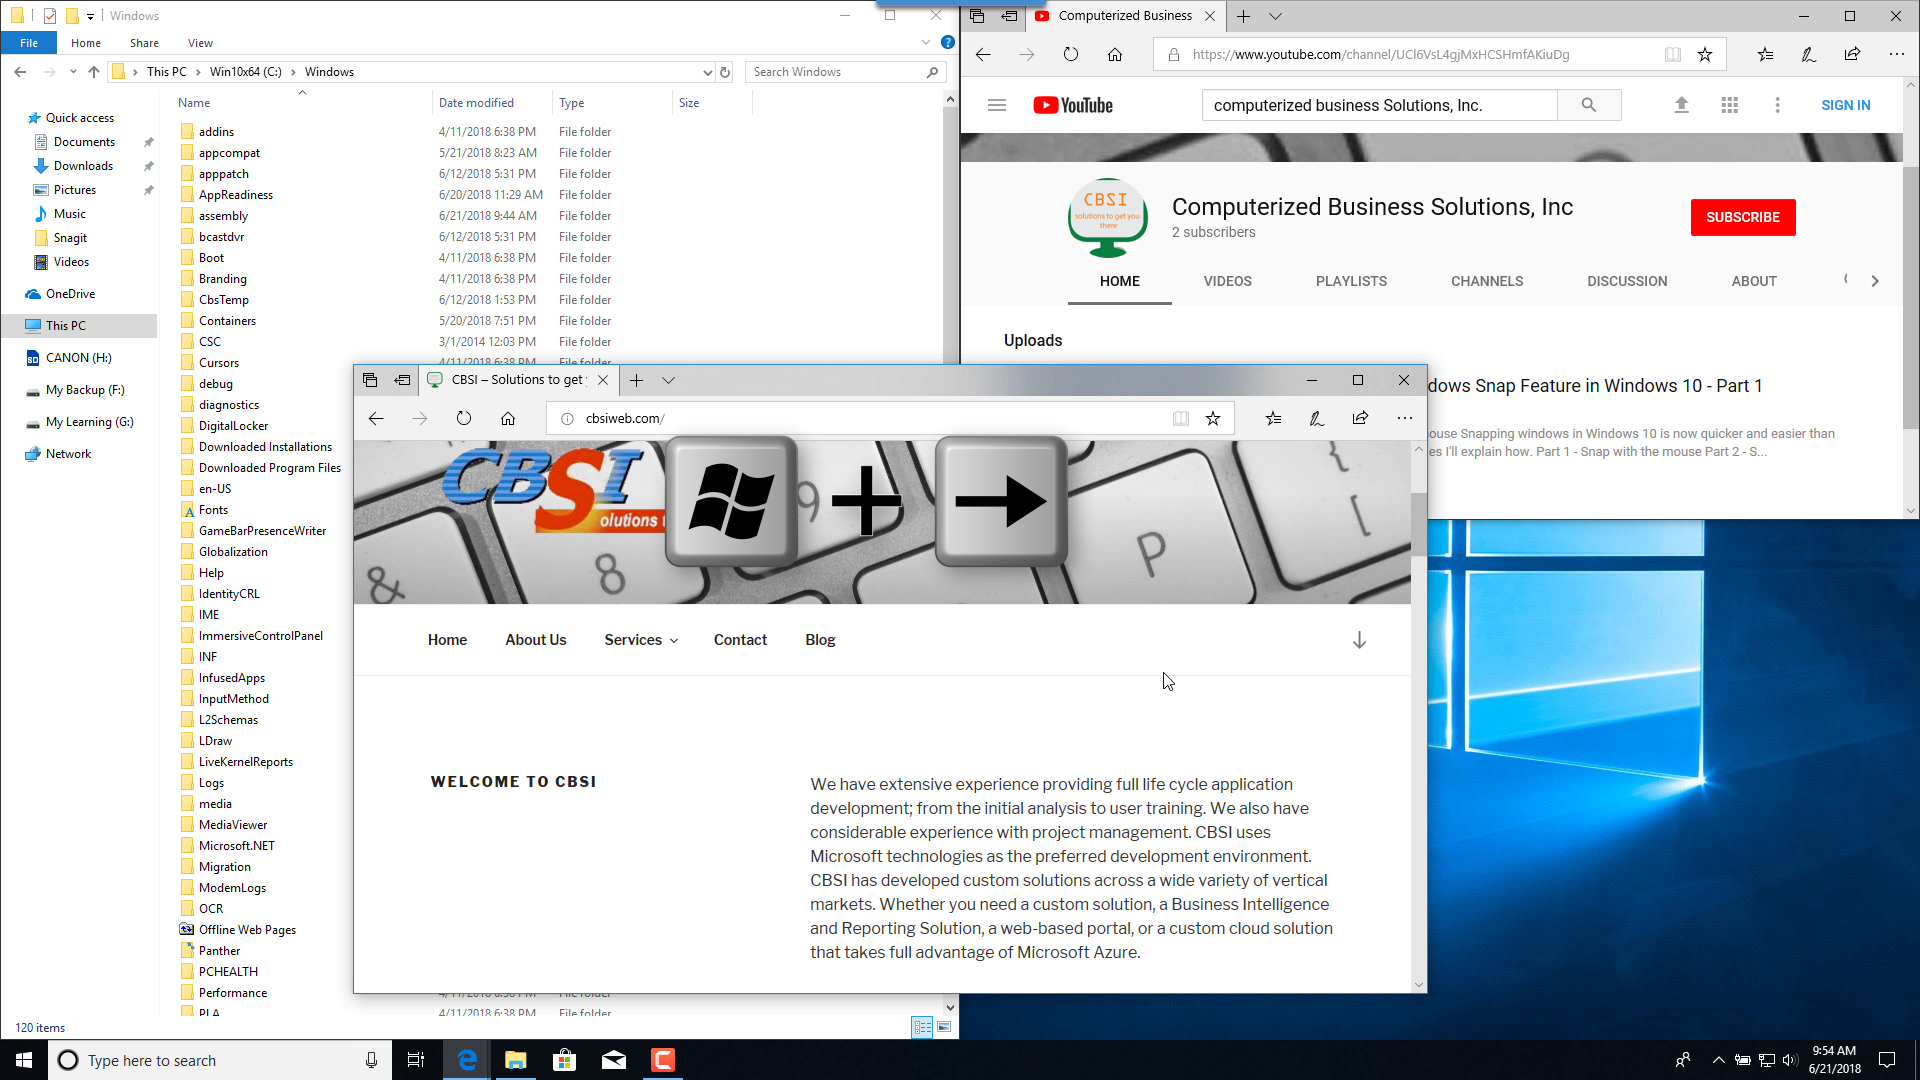
When using the keyboard, it is important to remember that the Windows Key on your keyboard is your friend and using the Windows Key in combination with the 4 Arrow Keys Up, Down, Left and Right will get you docking windows in a snap :-).
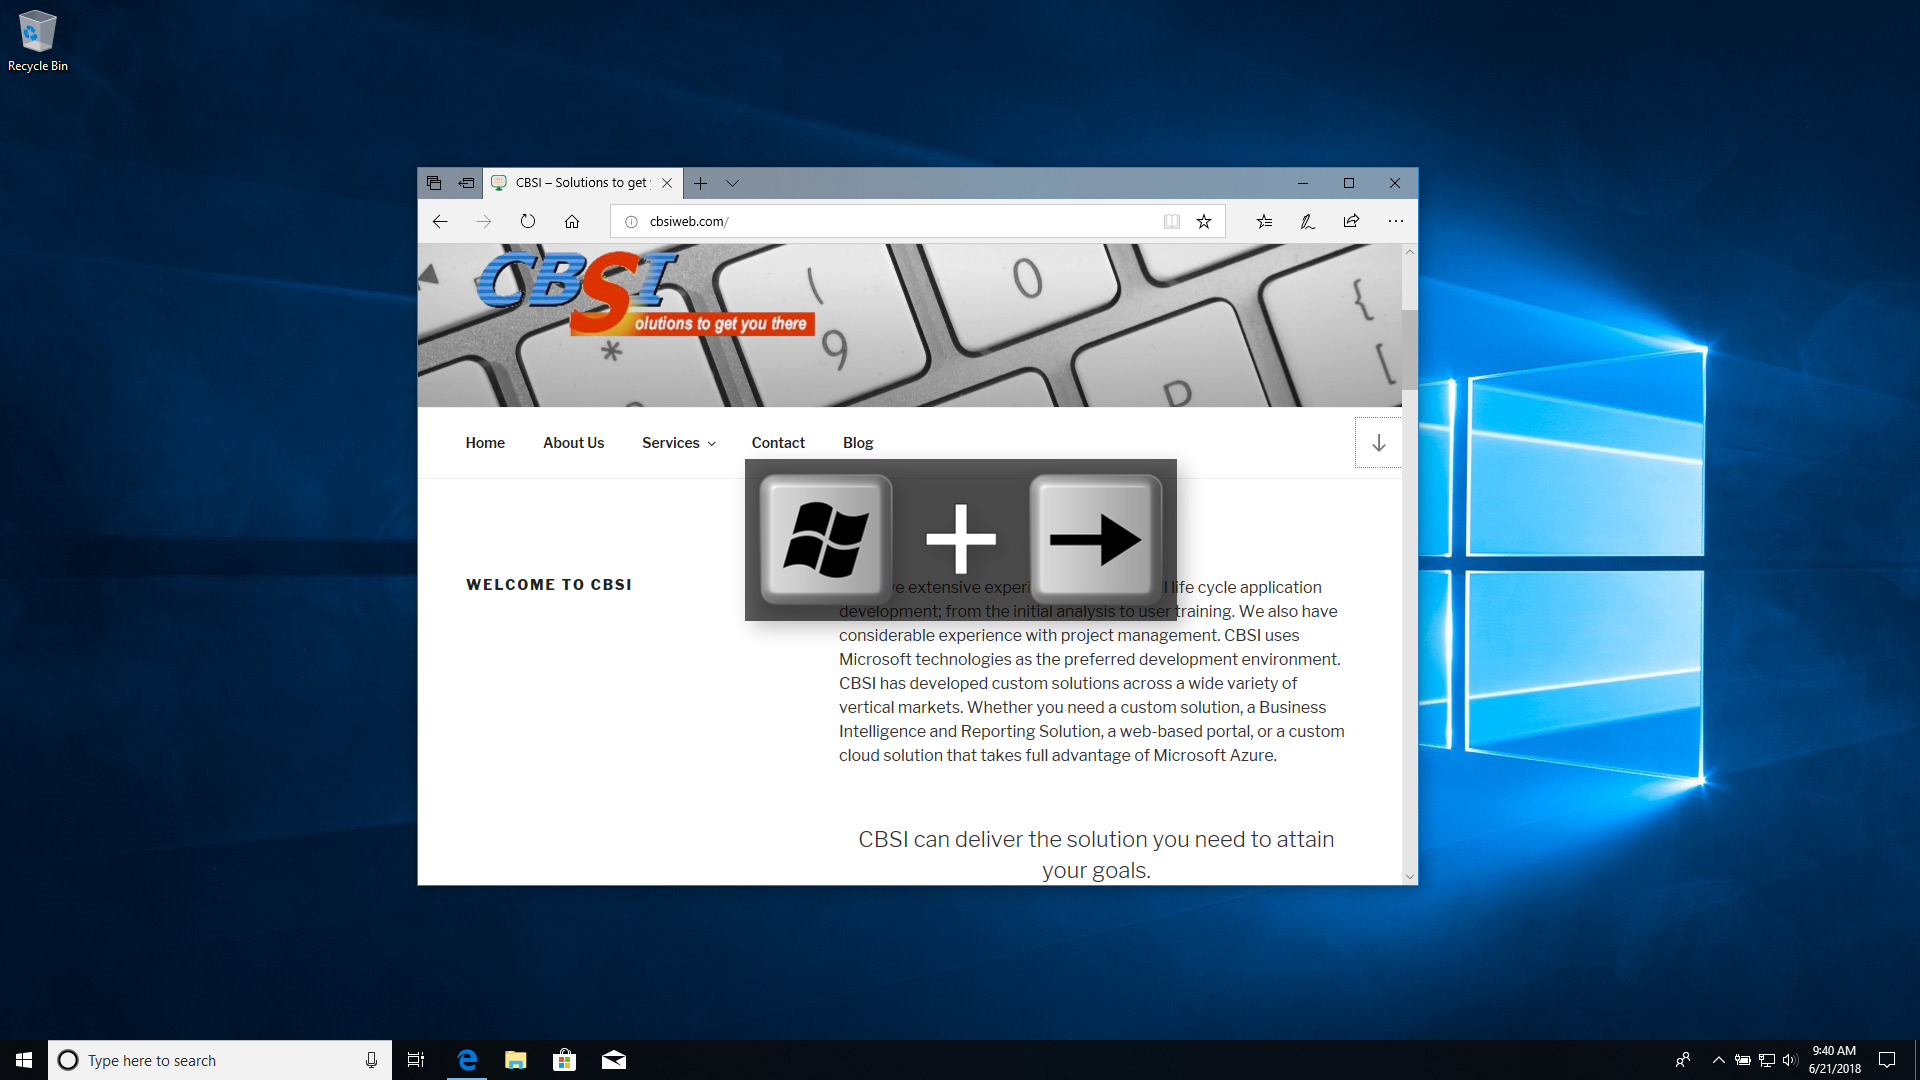
- To snap or dock a window that is not already docked to the left half of your screen, select the window and press the Windows Key + Left Arrow key.
- Do the same to snap a window to the right half of your screen, select the window and press the Windows Key + Right Arrow key.
- Once a window is docked to the left or right half of your screen, you can pretty much move it around to any quadrant edge (a quarter of the screen), using the windows key together with any of the four arrow keys.
In addition, To Maximize a window that is not already docked, select the window and press the Windows Key + Up Arrow key. To Minimize a window that is not already docked, select it and press the Windows Key + Down Arrow key.